
I have a hard time keeping all my ducks in a row, so I downloaded Simple Sticky Notes, which is an awesome app-thing that you can download for your laptop desktop. It's really easy and simple to use. It's like Post-Its for your desktop, that you can edit, and get themes (designs) for, as well as changing the colour, size or font of, to your hearts content. No pen and paper here.
Step 1:
Step 1 in this process is to download and install Simple Sticky Notes.
Step 2:
Create a bunch of notes, even if you don't have anything to put in them yet, though I find that hard to believe. What do I use mine for? Well, I have one for my book's SmartURLs, which include everything from the Amazon, Barnes and Noble, book trailer and Goodreads page links, as well as a little diddy about "available at all ?? stores" so that I can copy and paste, without much effort. I have another one for my publishing schedule, one for my FB passwords (since I'm the admin on 3 FB, 3 Twitter pages and 3 blogs, which all use different passwords). I have one for my editing schedule, one for general To Do items, one for my CreateSpace discount codes, one for my DWP information, one for blog post ideas, editing tips. Anyway, you get the idea. I have a lot: 16 post-its in total and it was getting a little hard to organise them, which is when I came up with this idea.
Step 3:
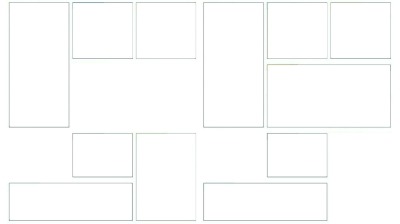
Go to Picmonkey and create a Collage. It doesn't matter what images you add, yet, but have some random, decently sized boxes, scattered all over your page. Make sure your overall size (which you can manipulate with the lock box at the bottom) is relative to your computer screen. Tip on how to discover this: right click your desktop, click Graphic Options, then Resolution and check which box is ticked. That's the size you want your image to be.
This is mine: (I only thought about doing this post after it had been created, so I don't have all the boxes left over)
Right, now we can get to work. STAY in Picmonkey.
Step 4:
Either remove all the images you used, to create the collage or keep the ones you want and get rid of the rest. Now, we're going to fill in some of the blanks (on my sheet) and the boxes on yours. You can choose whatever boxes you want to fill in, but mine will be the four without box marks and two of the small square boxes at the top. One will be the second in from the right and the other will be the third in from the left.
It will take some time to upload images the right size. If you can't get them to fit, but really want to use them, consider switching to Pixlr, (I have a tutorial on how to use that here.) which will give you more free reign over how to manipulate the size of the photo. But, be warned, that it might not look as good.
Step 5:
Step back and look at your pretty. If you're happy with it, then save it. If not, play around a little more. You should have something like this (in your own configuration, with your own images):

Step 6:
Go to your desktop, click Personalisation, click Desktop Wallpaper and make this your wallpaper.
Step 7:
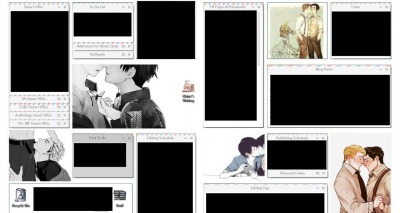
Use your sticky notes to fill in the blank boxes. I leave most of mine open, so I can always see what's inside them, but if you double click the title of the individual stick note, you can minimise anything you don't need to see all the time. Example: (I've blanked out personal info, spoilers for future books or current edits and one 18+ image, but you get the idea.)
~
Now, every time you see your desktop, all of your information information will be there, but you'll also have some pretties to look at, which will detract from the copies amount of words. Believe me, I've tried a dozen ways to make an effective, but useful, wallpaper and this was my best idea yet. Everything is organised, easily accessible, but also nice to look at.
Enjoy playing around with the idea.
No comments:
Post a Comment